
The thrilling conclusion of the basement bath saga
Disclaimer: Ok, “I’ll come back tomorrow” was maybe a little optimistic. Tomorrow, two weeks, potato potahto.
Y’all, I cannot tell you how exciting it is to get one’s teenage daughter OUUUUUT of one’s bathroom once again. Whew, that was rough. But the basement bath is now finished, ta da! Many thanks to my Amazing Tile Guy (who wishes to stay off the internet) as well as my absolutely phenomenal electrician, Ron Ethridge of Ethridge Electric, who solved ALL the problems.
So the bathroom. It went from this original state (oof)….
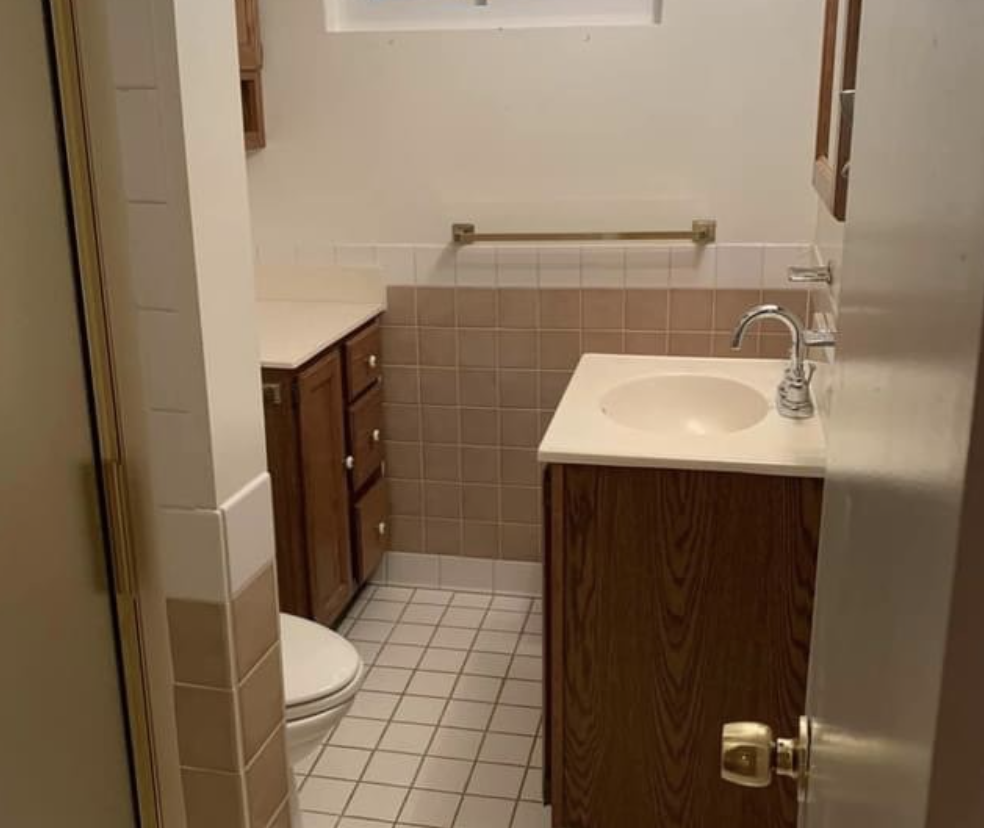
if misery was a room
…to, two years ago, a quickie “mini-reni” of just paint and wallpaper and decor, see here:
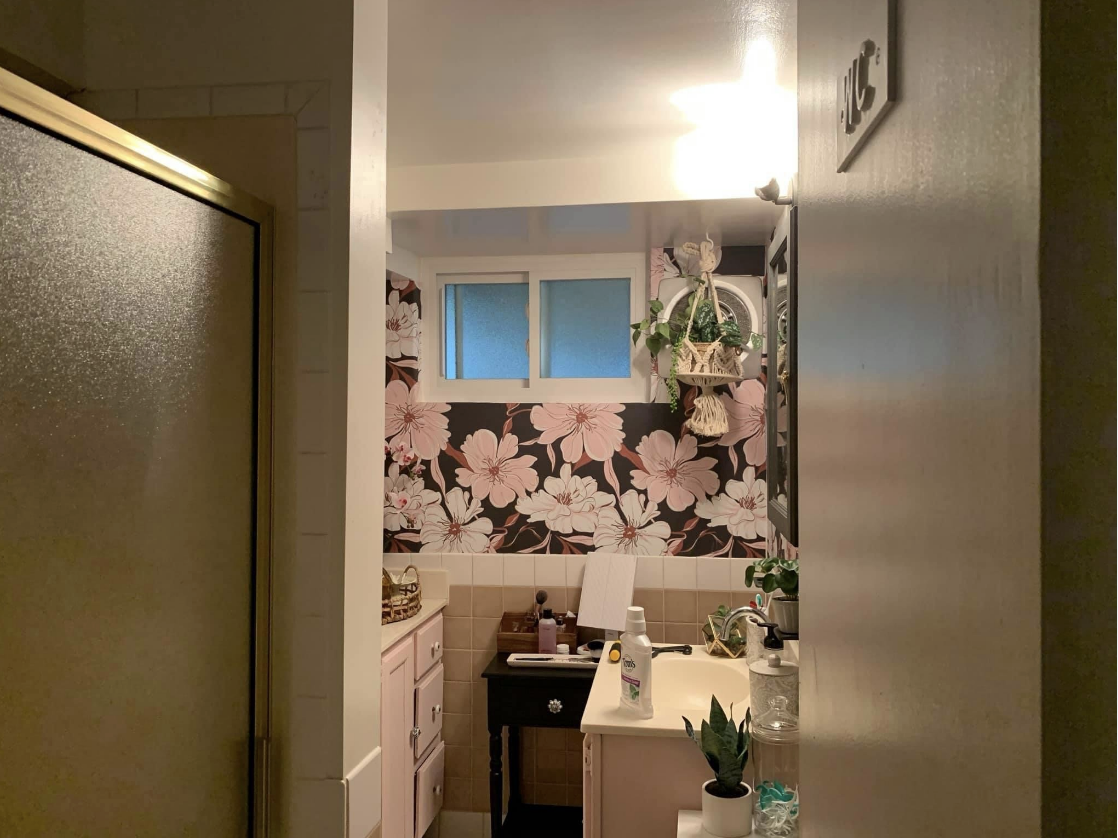
…but as you can see here, it wasn’t perfect. For one, hidden behind that plant in the macrame sling is a big ol’ honkin’ exhaust fan that makes the whole place sound like an airplane hangar and made me worried it was going to burn the house time every time anyone switched it on. Second, why is there a whole other cabinet in the corner? Third, you can see at left that there was a shower stall that smacked you in the face and crowded the entrance to this already very small room. What’s more, the shower was raised a bit and had a lower ceiling there because of the soffit, so my daughter couldn’t even use the shower because she’s tall.
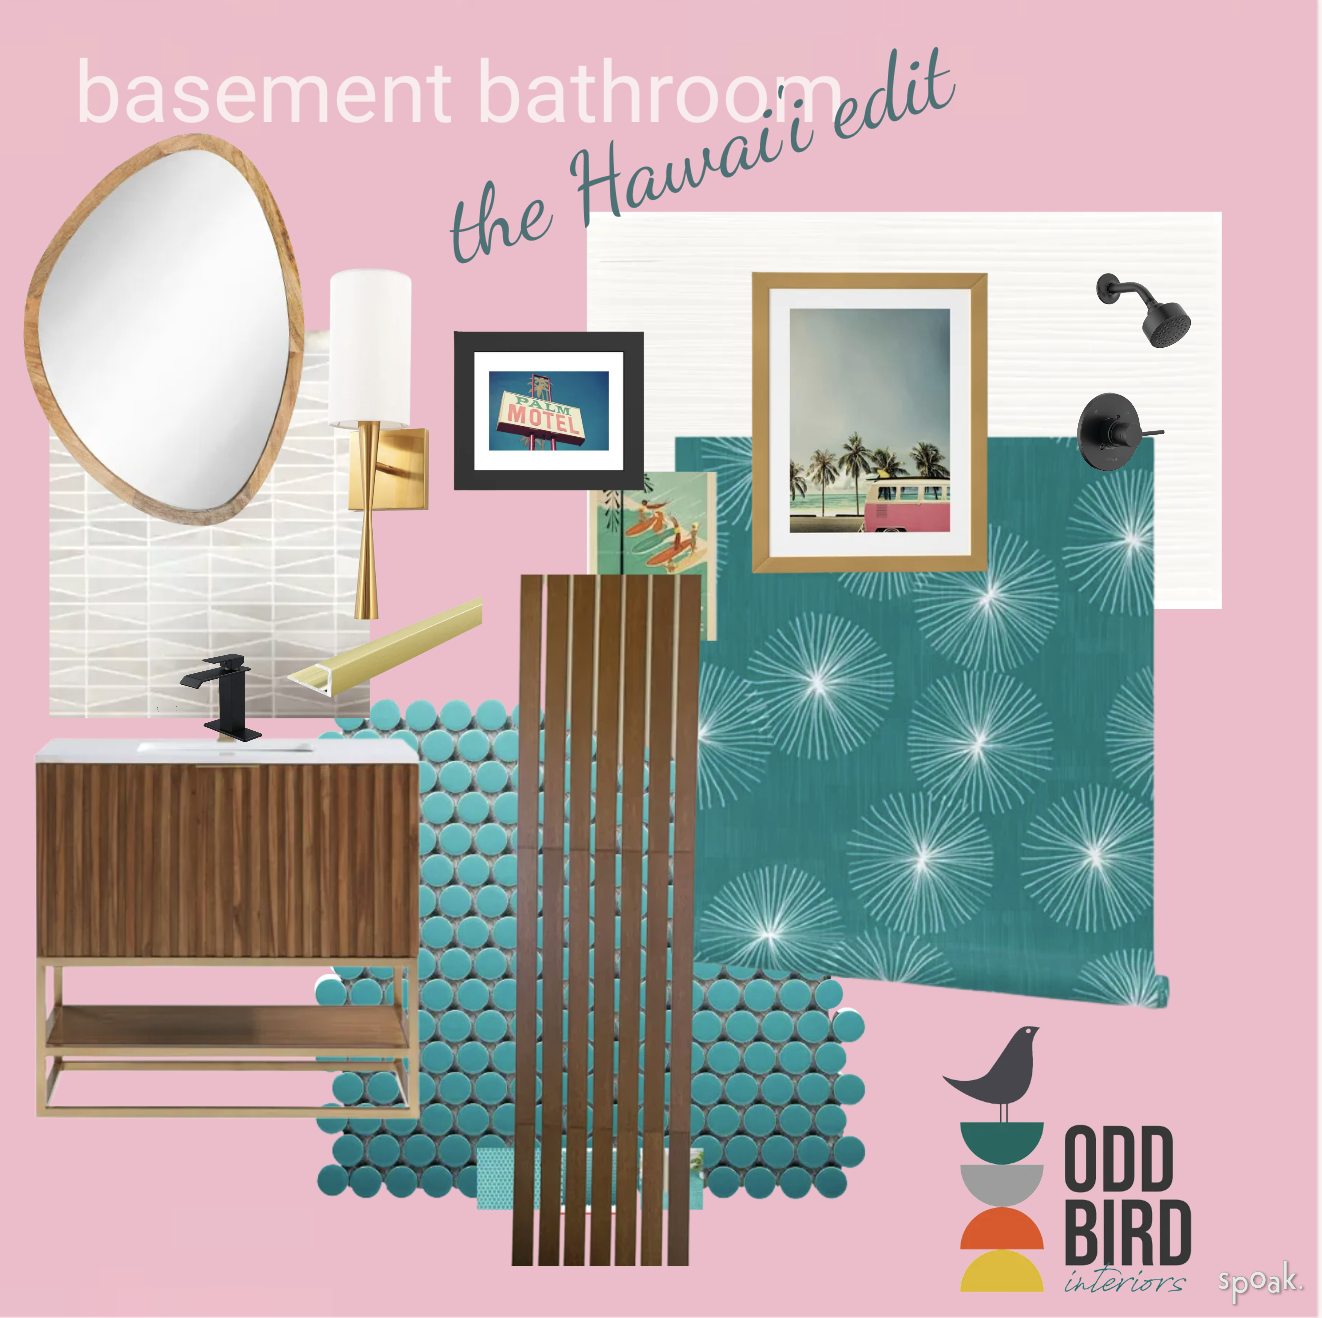
To refresh your memory, here’s the mood board
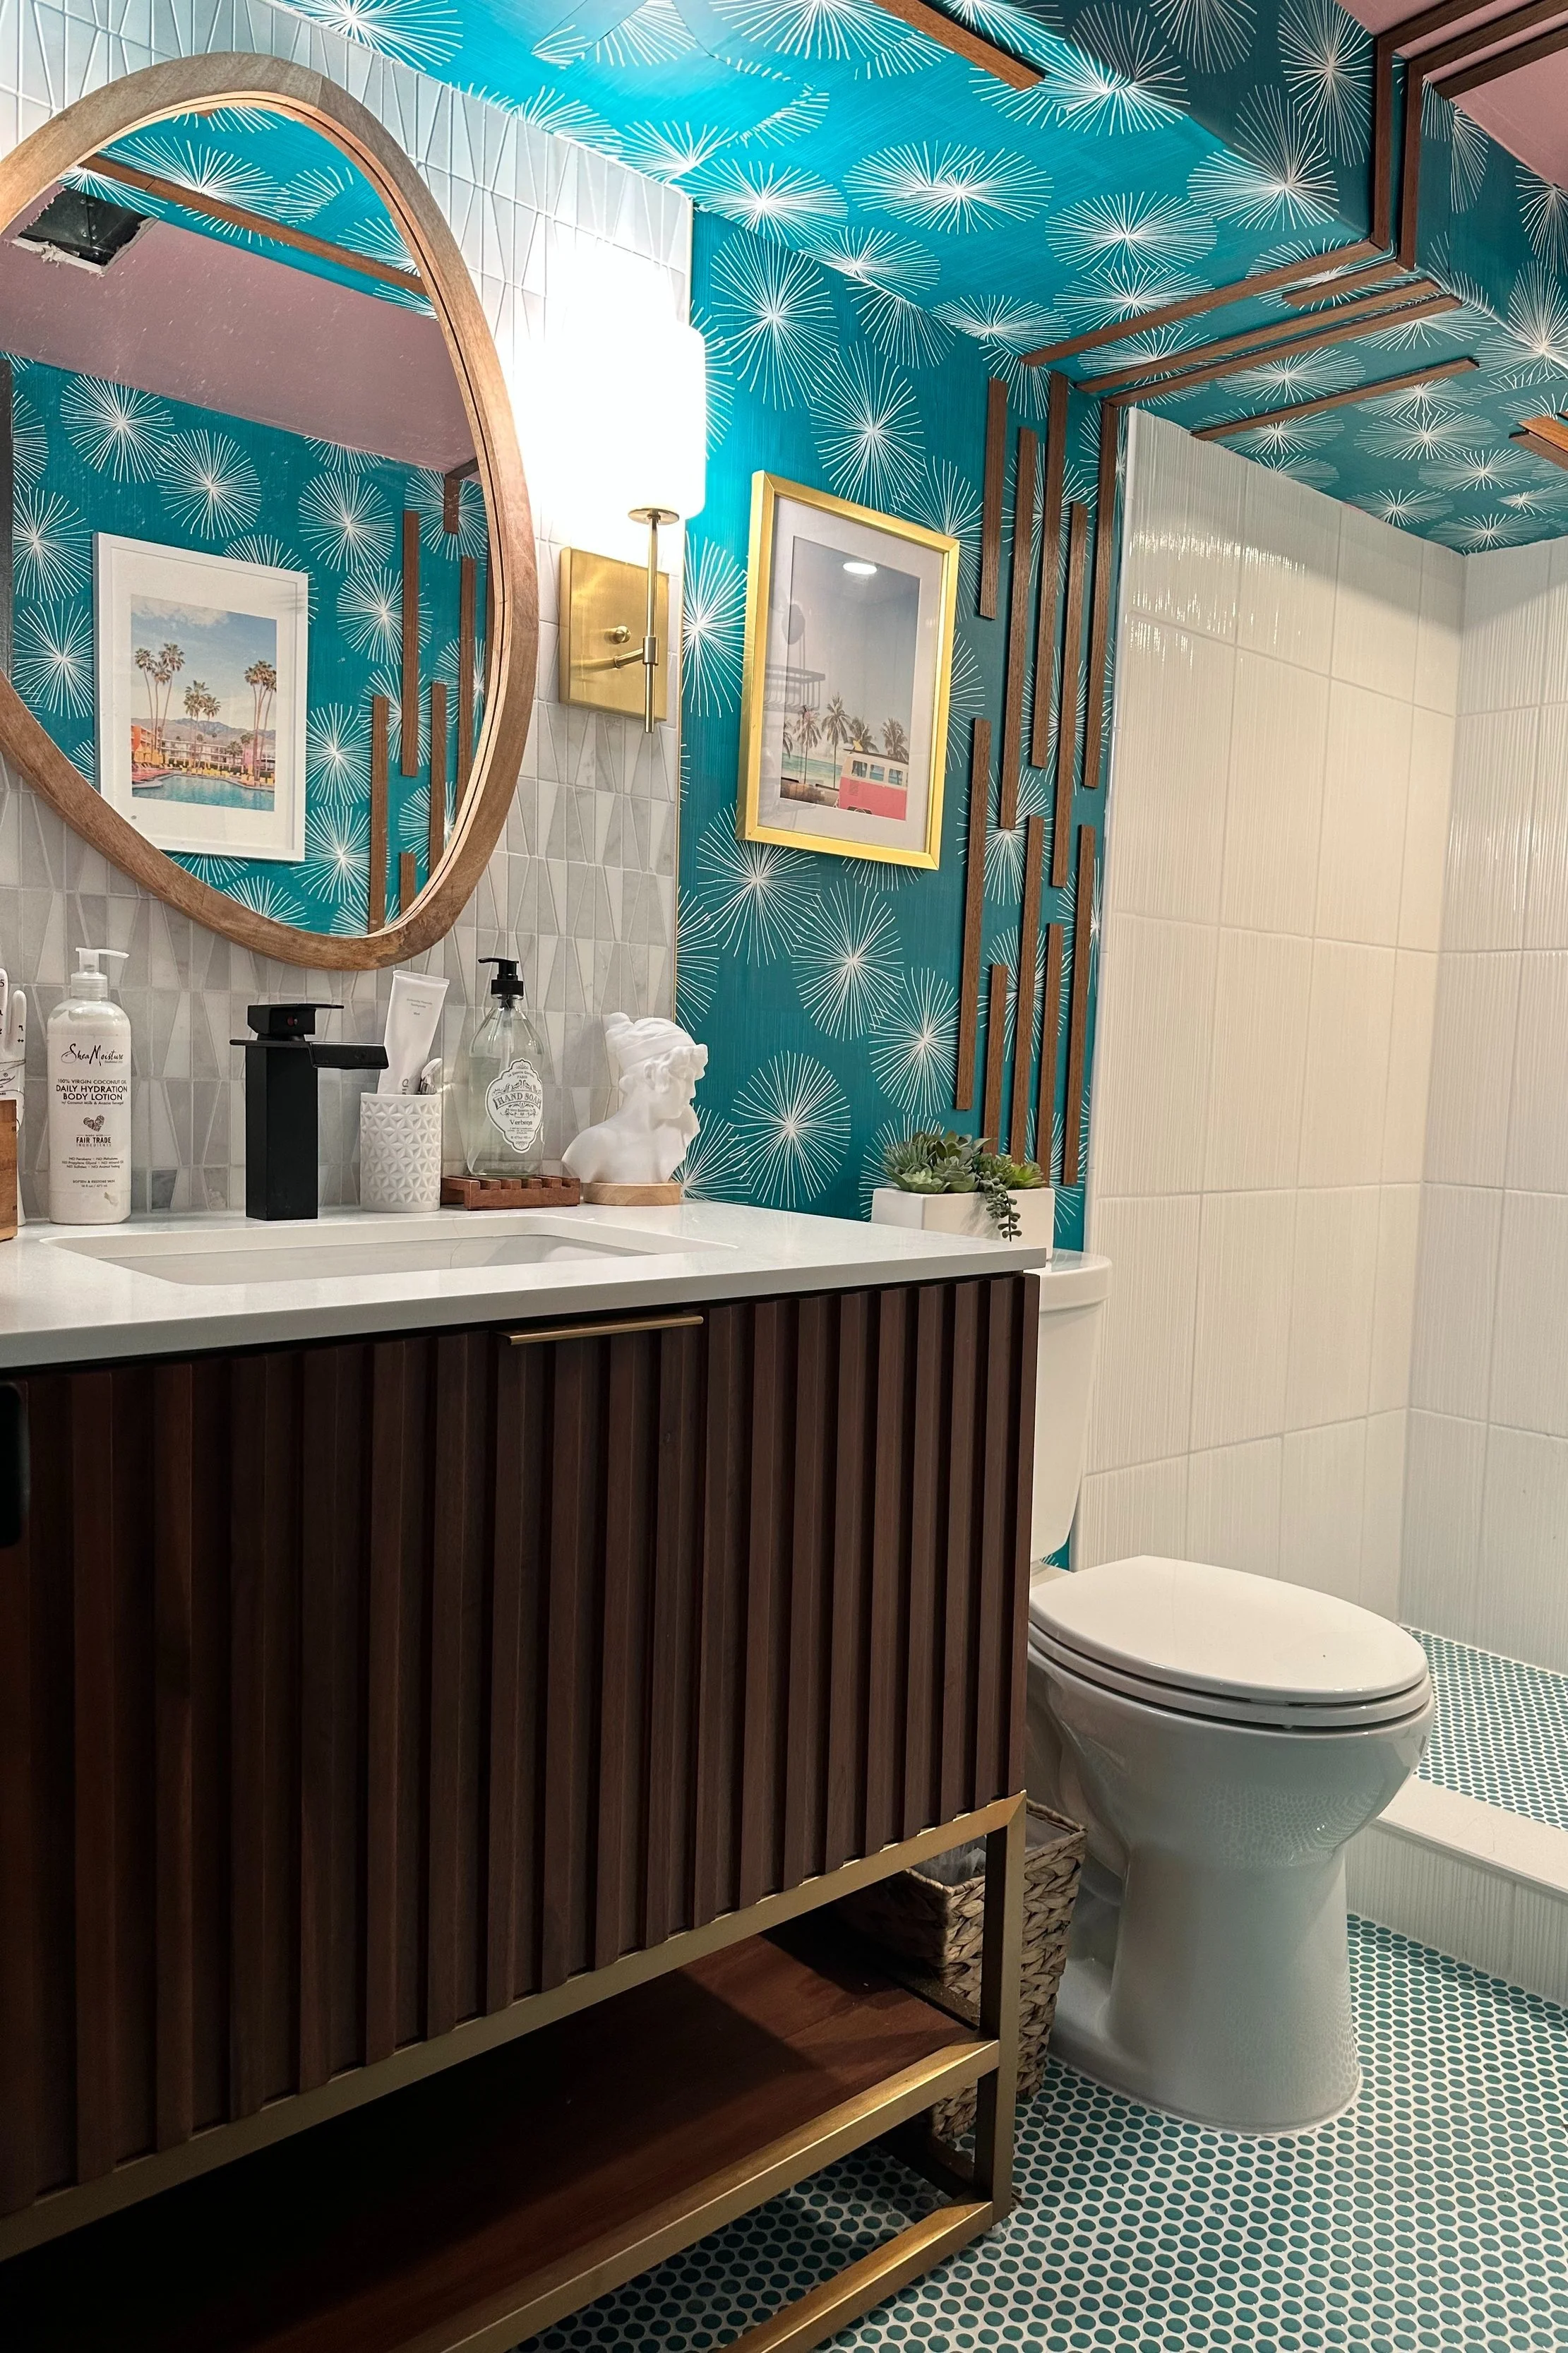
And voilá! Here is the finished product! It wasn’t completely finished here because the glass shower enclosure isn’t installed yet but, like, it’s GLASS so you can pretend it’s there.
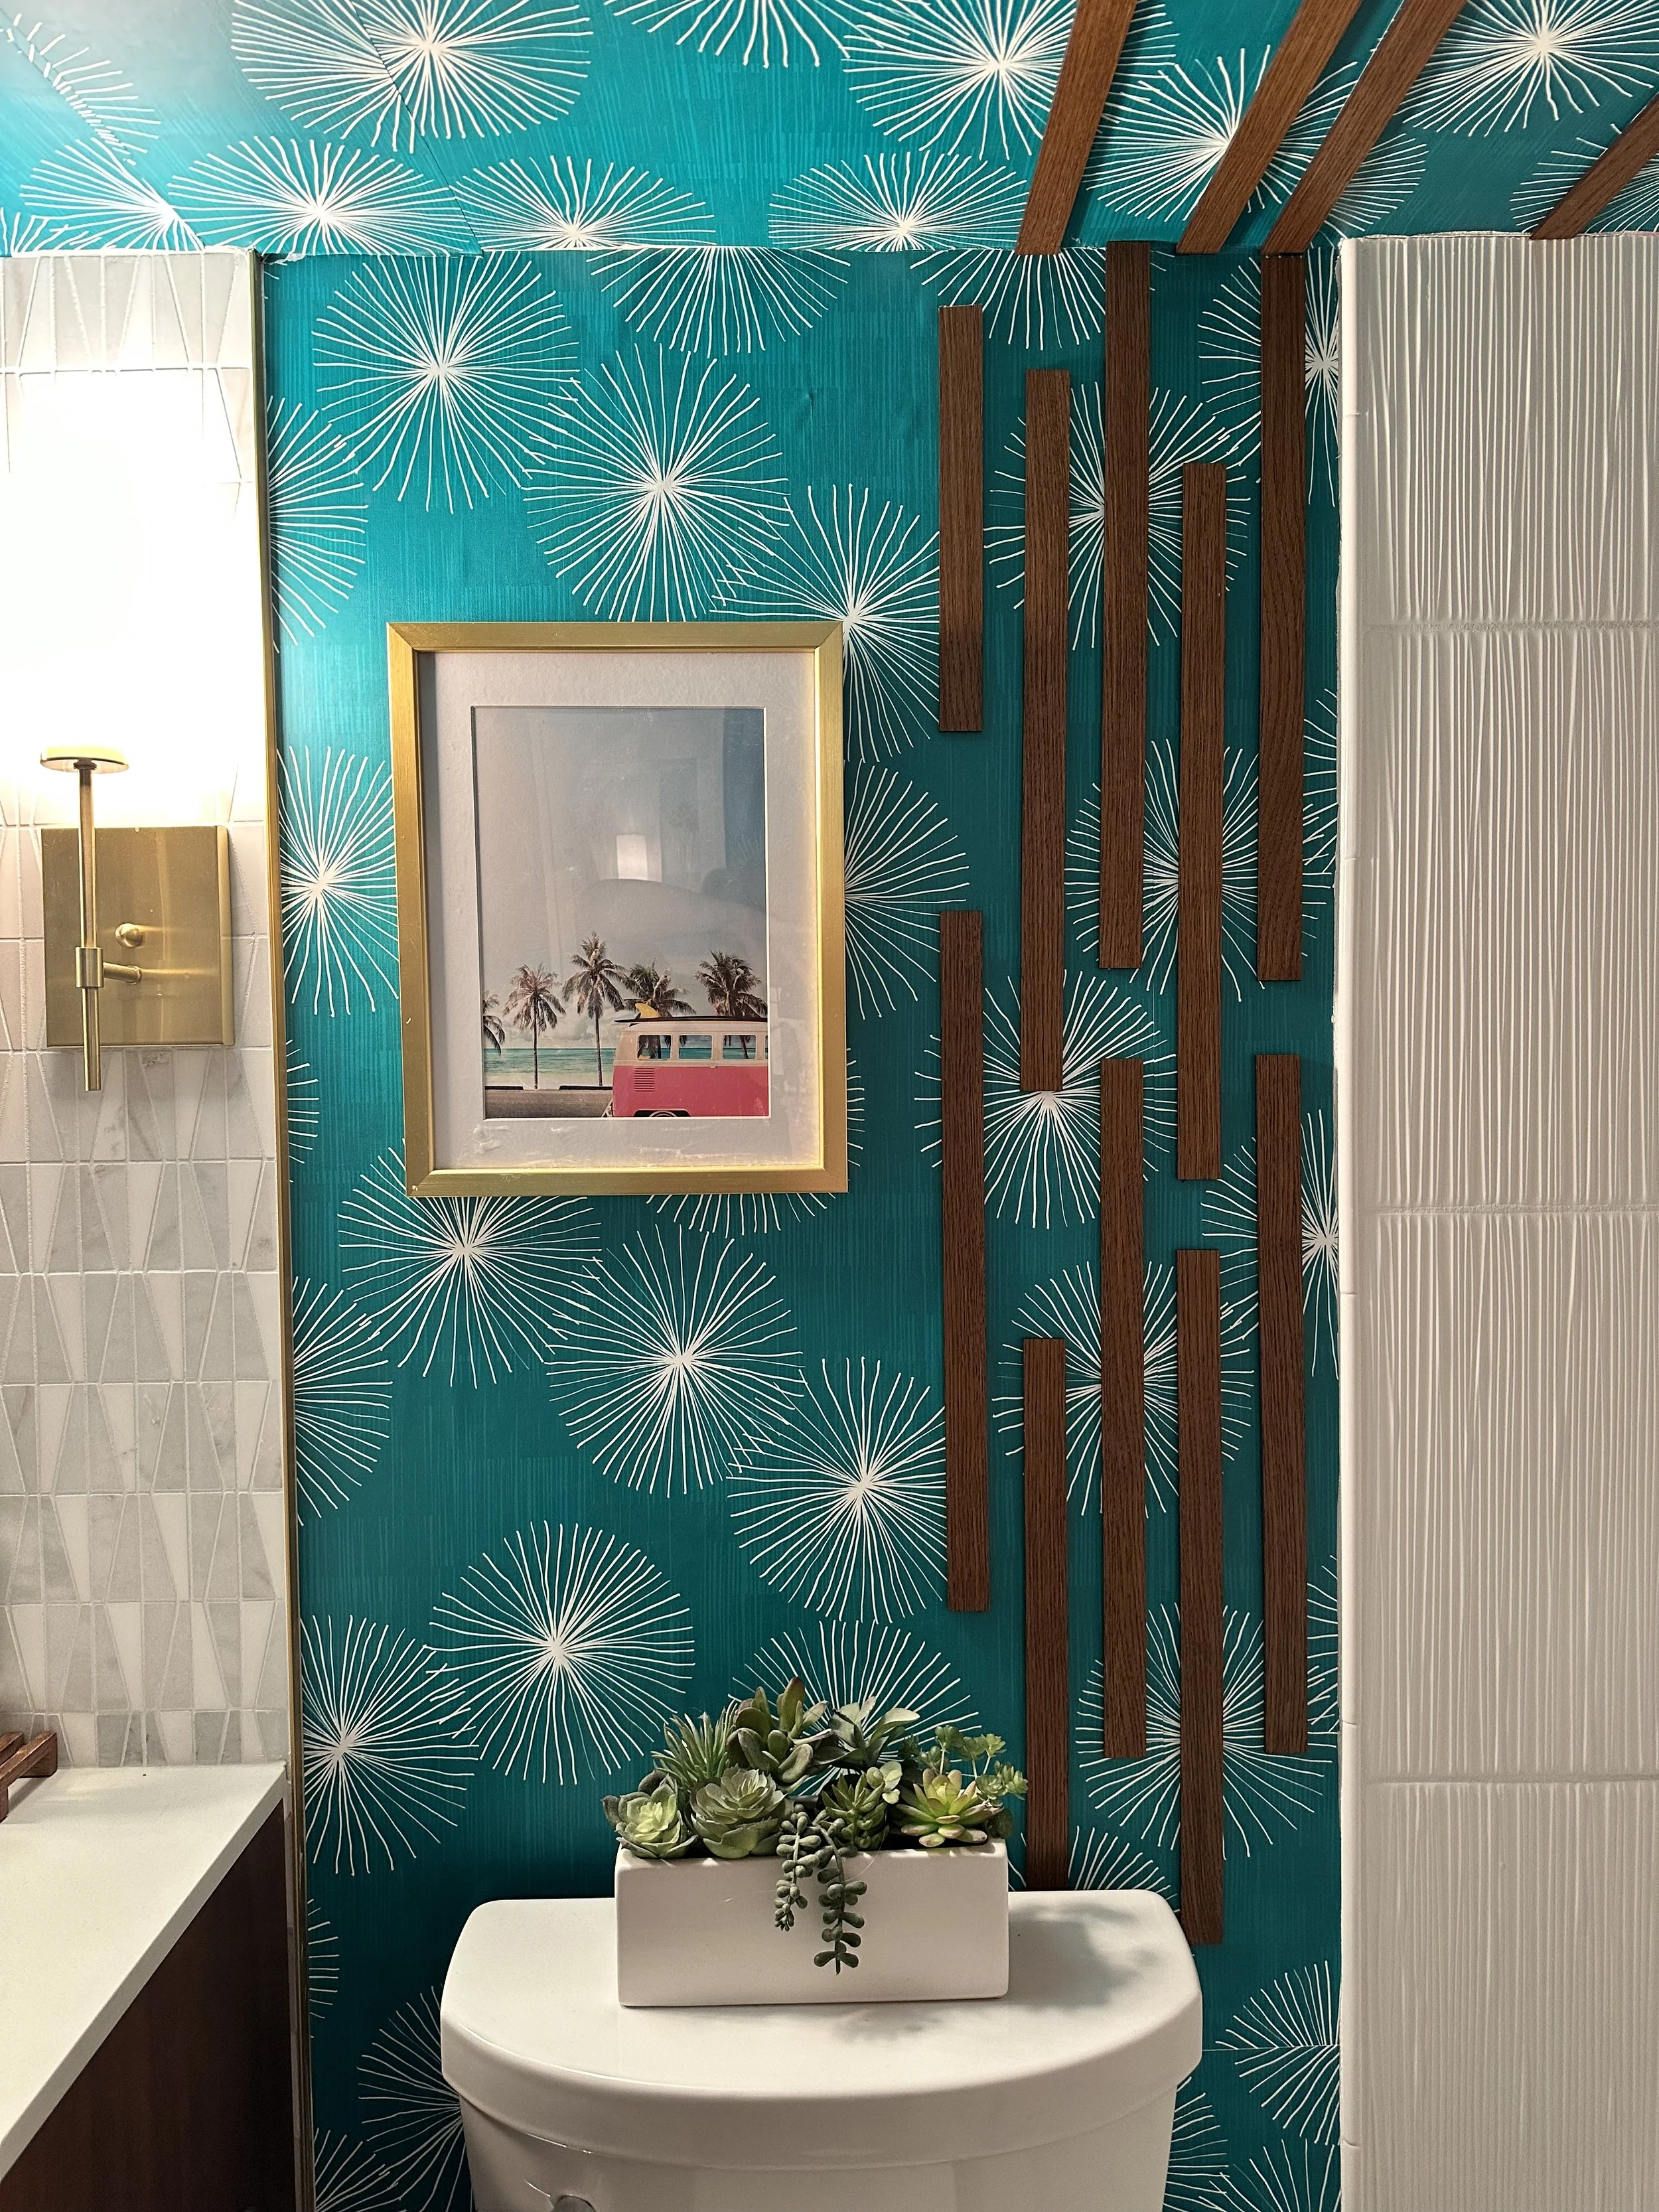
I am pretty happy with how this turned out. It’s bright and cheerful and snazzy, it definitely doesn’t scream “this is the basement!” anymore. And there’s a certain 17yo who LOVES having her own shower again, especially now that it’s a full sized shower. (If you missed the previous blog post, it had before and after floor plans for the room so you can see what was done)
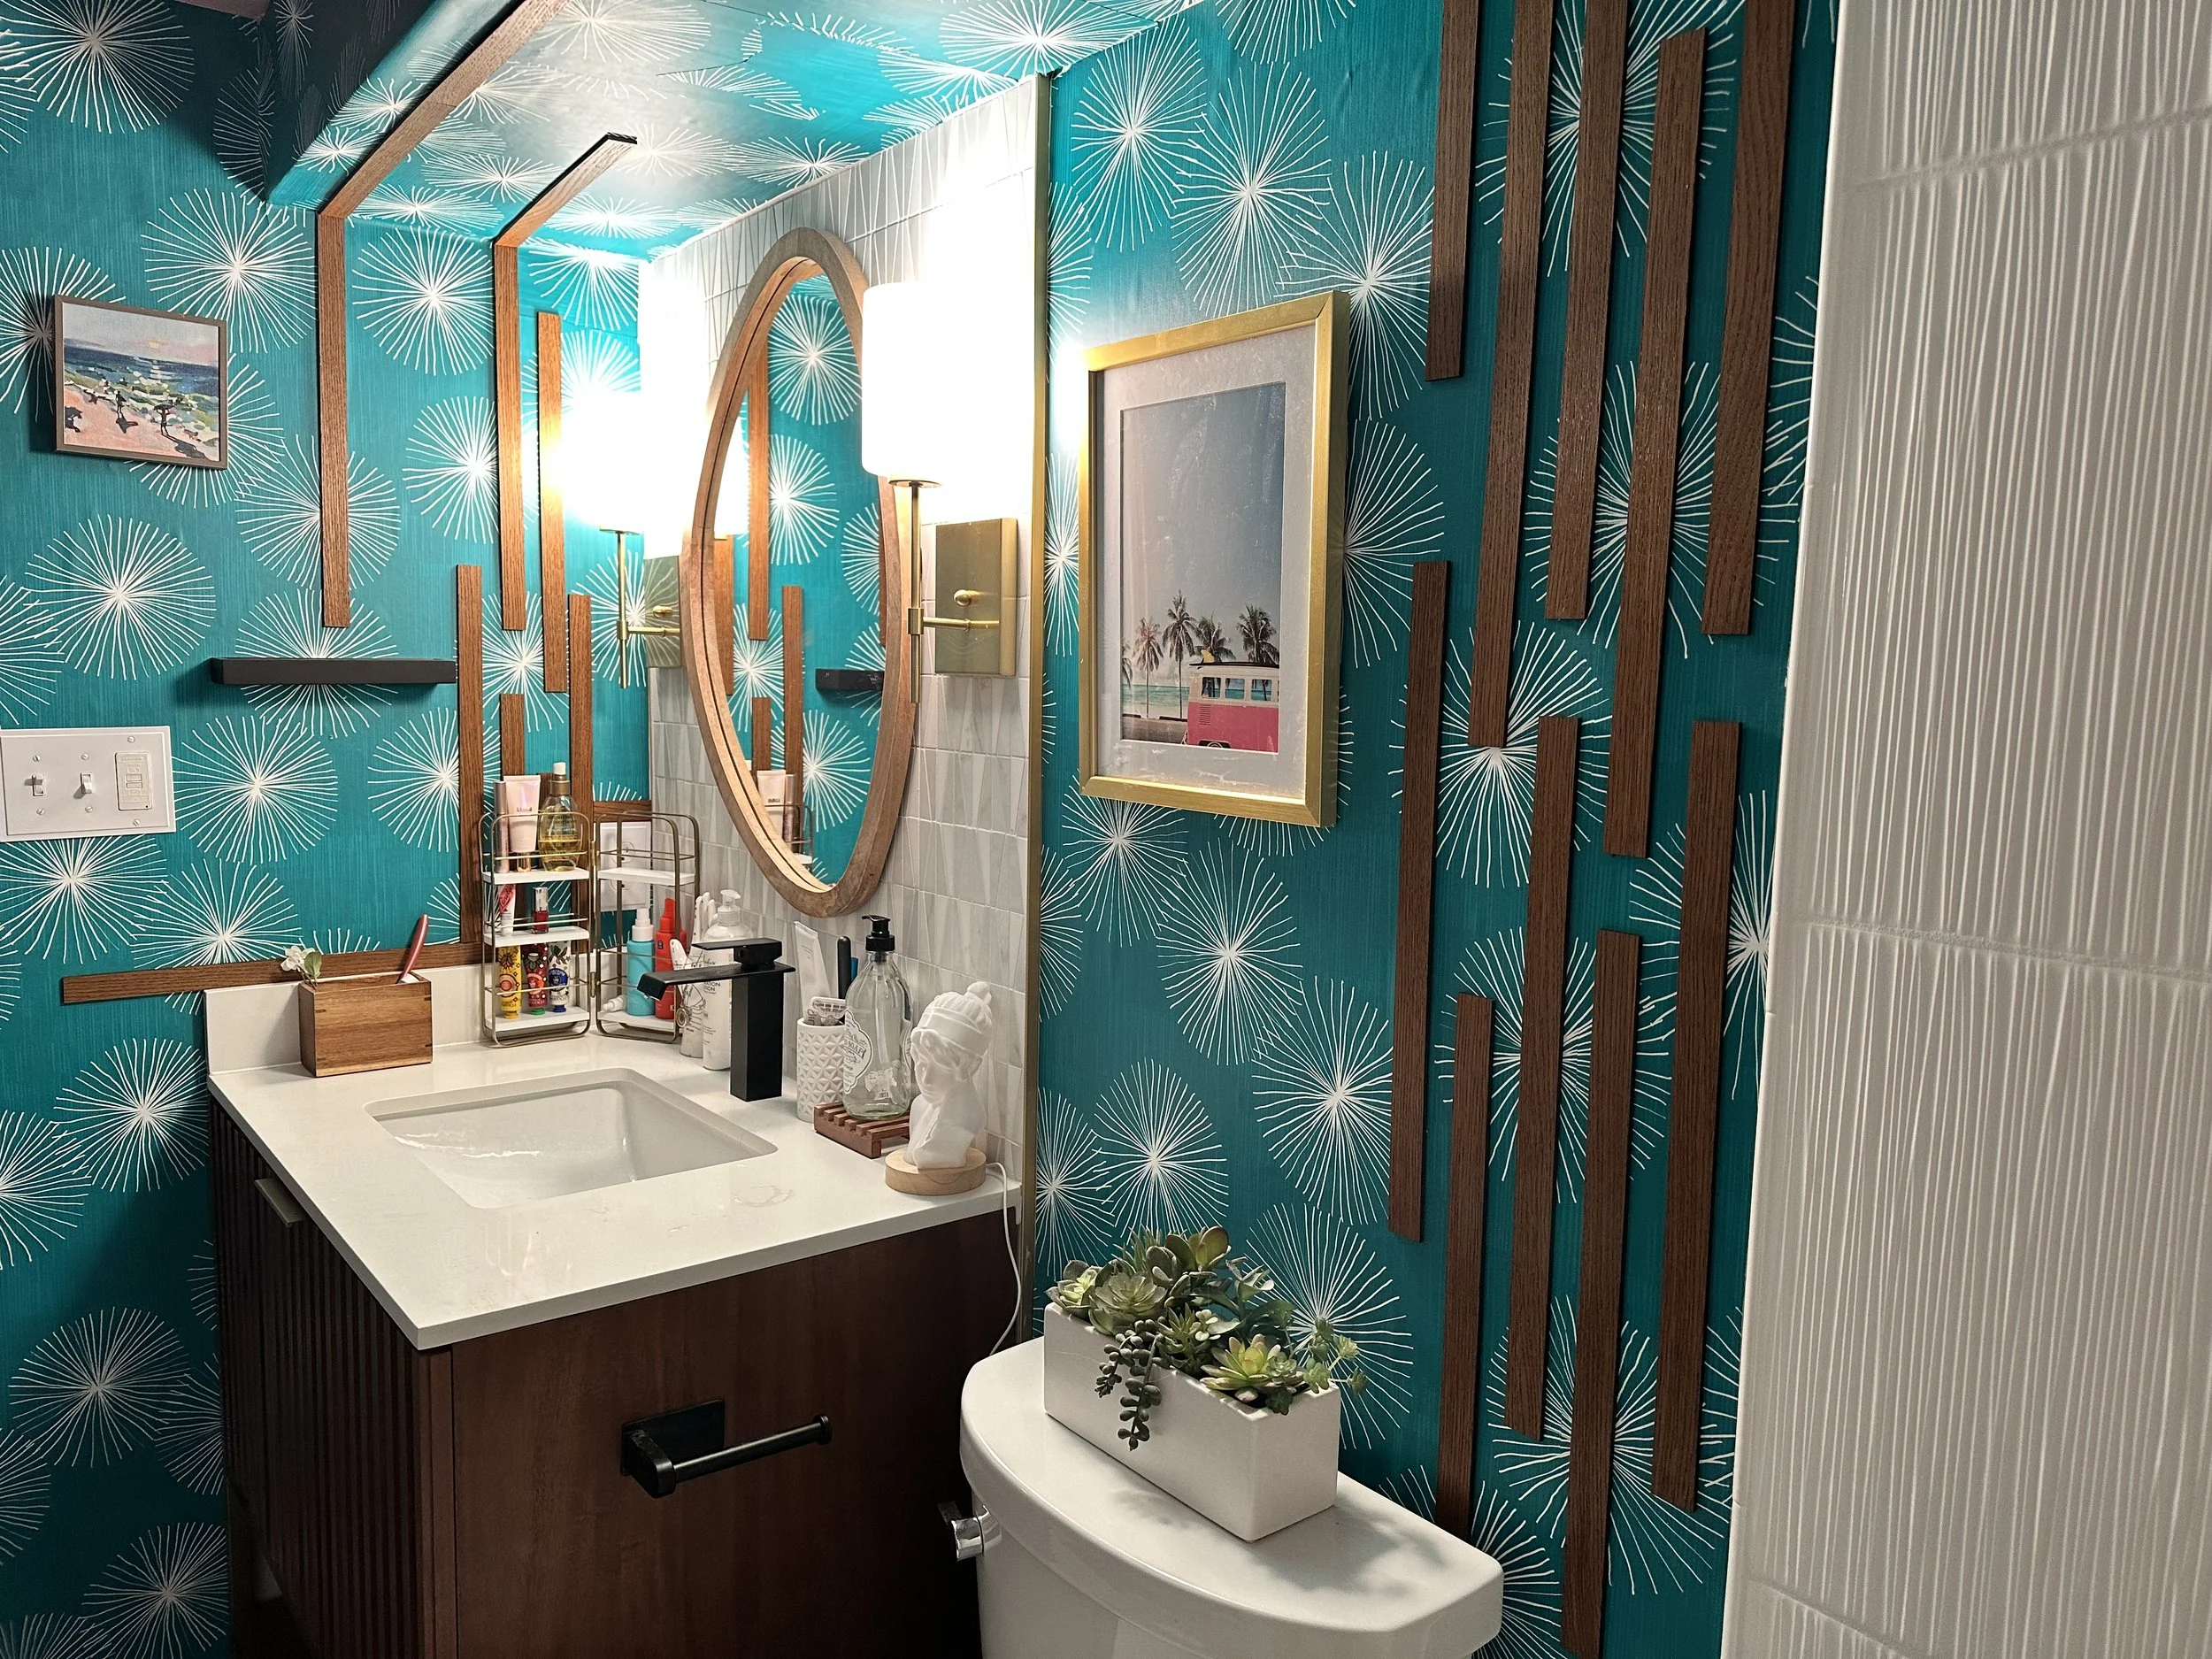
The walnut slats I bought from an independent artist on Etsy are so cool. I was originally going to do a continuous, one foot wide strip of about five of these side by side (you can see that in the mood board) but once I saw them in person it kind of bothered me that you could see that each section was only two feet long so there were little seams. So I ended up staggering them in a deliberately haphazard way that ended up being a bit more fun (and helped cover up some wallpaper seams in places where….let’s just say, there aren’t a lot of right angles in this room). If this was someone else’s house I would have insisted on making everything perfect and 90 degree angles but as the homeowner on this one, I gave myself permission to sacrifice 1 degree of wall angle in service of getting this done faster to get my daughter out of my bathroom. The struggle was real.